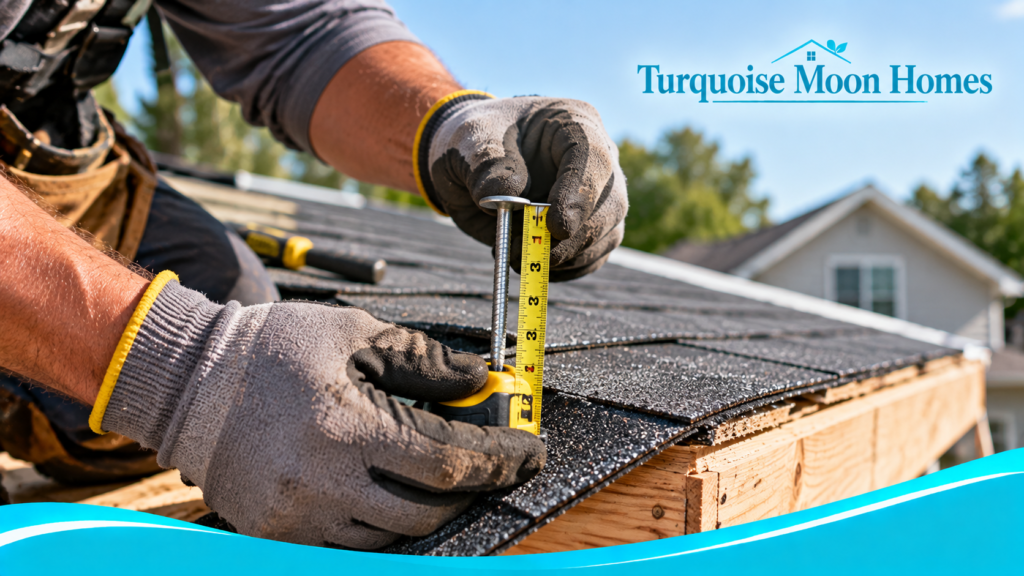
Roofing nail length is determined by the thickness of the shingles and other layers plus the penetration required into the roof deck. For common asphalt-shingle systems, manufacturers generally call for at least three-quarters of an inch into solid wood, or full penetration through thinner sheathing with the point extending beyond it. The exact product instructions and local code still control.
That sounds straightforward until a roof has thick laminated shingles, an exposed porch underside, or a ridge vent. Here is how to check the measurement, understand common nail sizes, spot installation mistakes, and ask the right questions before the job begins.
The Nail Has to Reach the Deck, Not Merely Hold the Shingle
The right roofing nail length depends on the total thickness of the roofing materials and the roof deck. The nail must secure the shingle to solid wood, not simply pierce the shingle and underlayment. A nail that looks long in your hand can become too short after passing through a thick laminated shingle, an additional roofing layer, or a ridge accessory. That is why choosing by the number printed on a box alone can be misleading.
For typical asphalt roofing, the Asphalt Roofing Manufacturers Association advises at least three-quarters of an inch of penetration into the wood deck. Where the sheathing itself is thinner than three-quarters of an inch, the fastener should extend at least one-eighth of an inch through it. Always check the exact shingle instructions and the applicable local code, since a particular roof assembly may call for a different approved detail.
Measure the Complete Roof Assembly Before Choosing a Box
Start at the top of the shingle and picture every layer the nail must pass through. Include the thickness of the shingle at the specified nailing zone, any existing roofing layer permitted by code, the underlayment, and any accessory under the nail head. Then account for the required grip in the deck. The exposed nail point is not wasted length; on thin sheathing, it may be evidence that the nail fully passed through the wood.
For example, a contractor replacing a roof over half-inch plywood should not assume that a one-inch nail is adequate just because the plywood is only half an inch thick. The nail must first pass through the new shingle and other materials. The useful question is how much shank remains inside or beyond the deck after those layers have been penetrated.
A homeowner can ask the installer to identify the deck thickness and show the selected nail specification before work begins. That is a more meaningful quality check than insisting on a single universal nail size. When the deck is unusually thick, thin, damaged, or covered by an additional layer, the calculation deserves extra care.
Why a Common One-and-a-quarter-inch Nail Is Not a Universal Answer
A one-and-a-quarter-inch roofing nail is frequently used on straightforward asphalt-shingle jobs, but it is not automatically right for every roof. Thicker architectural shingles, recover applications, and certain roof accessories can change the required length. A nail that worked on a previous project may not meet the requirements for a new material or assembly.
The GAF roofing nail guide explains that roofing nails commonly range from one to two inches and that thicker shingles and ridge components may need longer fasteners. The product installation sheet, rather than a general rule of thumb, should settle the final choice.
If a quote simply says ‘standard nails,’ request the planned length, nail type, and installation pattern. A good answer should connect those details to your roof, not to a habit carried over from the last job.
Deck Thickness Changes What Proper Penetration Looks Like
On a solid plank deck, a nail may bury its point inside sufficiently thick wood while still meeting the specified penetration depth. On thin plywood or OSB, the point may need to project through the underside. That can surprise homeowners who can see their roof deck from an unfinished attic or open porch.
Do not trim exposed points merely because they look untidy. Cutting them can damage the roof or conceal a fastening issue without improving performance. If exposed points create a safety or appearance concern beneath a finished overhang, discuss an approved alternative with the manufacturer and contractor before installation.
The condition of the deck matters as much as its thickness. Soft, split, delaminated, or rotten wood cannot provide reliable holding power just because the nail is long. A repair that replaces compromised sheathing is more useful than compensating with longer nails. Our guide to roof decking rot explains what to inspect before shingles go down.
Architectural Shingles and Ridge Caps Need Their Own Checks
Laminated shingles have thicker areas than simple three-tab shingles. Their nail lines are designed around specific reinforcement and bonding zones, and installers should follow the printed pattern rather than nail wherever a surface looks flat. A longer fastener does not correct a nail driven outside the approved zone.
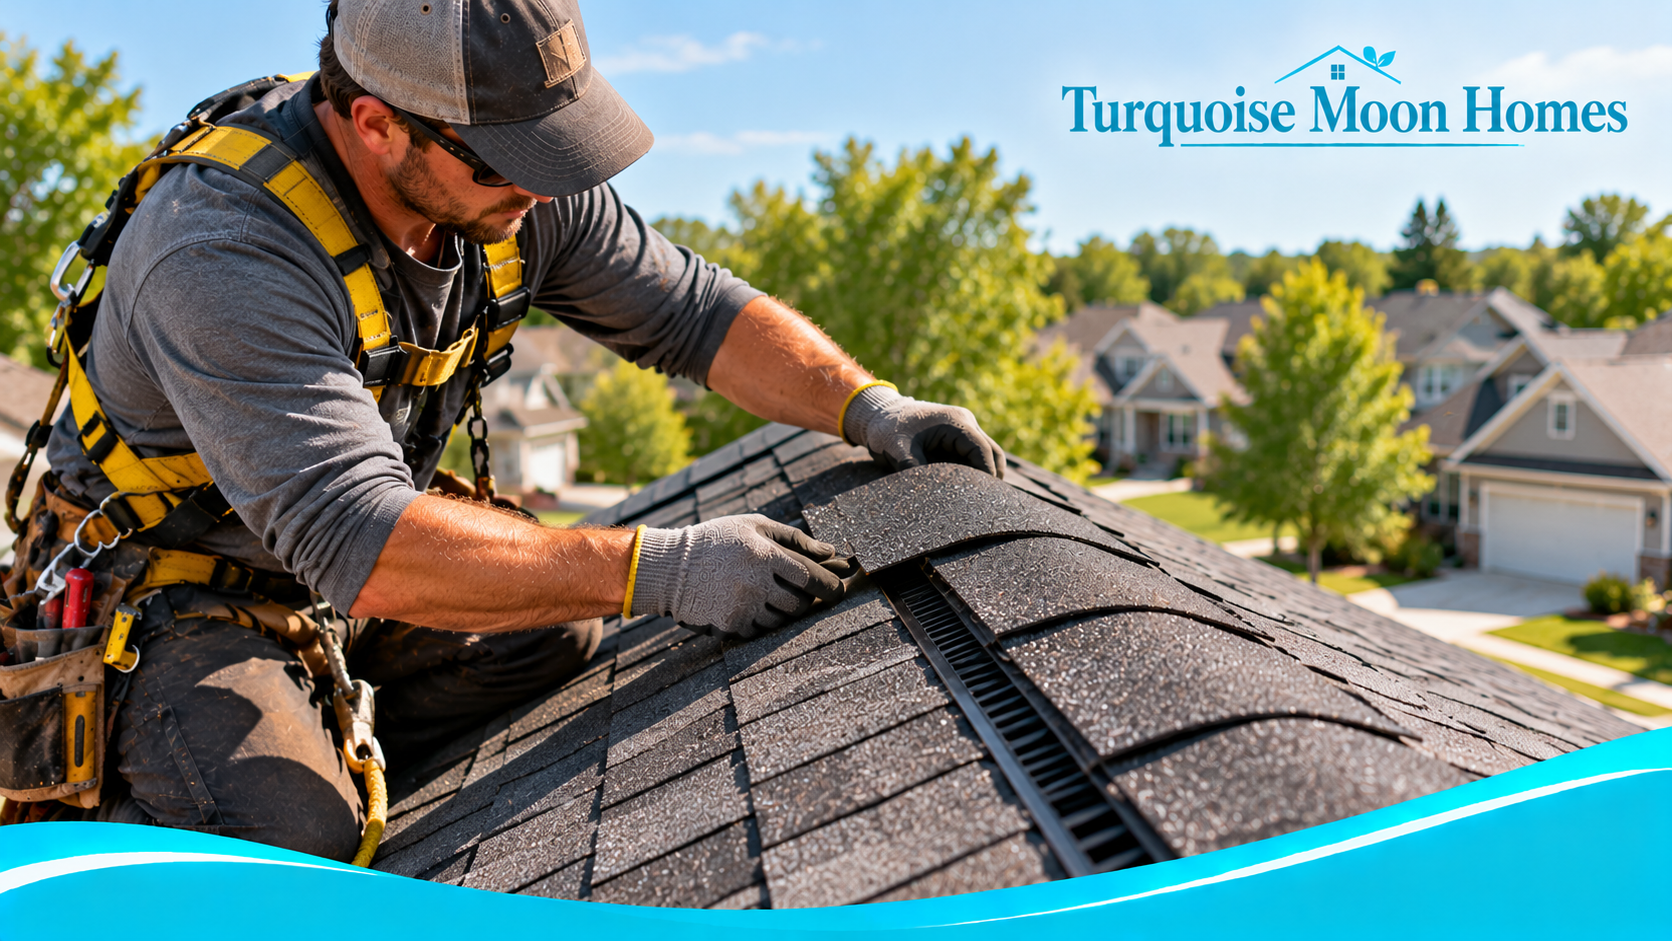
Hip and ridge caps often sit over multiple layers or a ridge-vent product. The combined thickness can be noticeably greater than a regular field course. Ask whether the crew is switching nail lengths when they move from the roof planes to the peak. The answer should match the accessory instructions.
A ridge vent is not just a decorative strip. Its fastening details influence how the vent remains attached during wind and weather. For the finish at the top of a roof, see our roof ridge cap shingles guide. It covers the relationship between caps, the roof peak, and the vent beneath.
Nail Material, Head Shape, and Shank Also Matter
Length is only one part of a roofing fastener. The nail needs a suitable corrosion-resistant material, a head large enough to hold the shingle, and a shank approved for the roofing system. A finishing nail or random construction nail is not a substitute for a roofing nail, even when its length looks similar.
Coastal air, persistent humidity, and local code provisions can influence the required corrosion protection. Roofing specifications may call for galvanized steel or another approved material. Avoid mixing leftover nails from unrelated projects when you cannot confirm their coating, diameter, or intended use.
The nail should be straight, undamaged, and free of heavy corrosion before installation. Bent nails, tiny heads, and inappropriate fasteners make it harder to achieve the intended hold. A clean, consistent fastener choice across the roof is easier to inspect and less likely to produce surprises.
Flush Nails Are as Important as Long Nails
An underdriven nail leaves its head standing above the shingle surface. The next course may bridge over that bump instead of lying flat. An overdriven nail can cut into the shingle and weaken the connection. Either error can compromise the roof even when the nail length is technically correct.
A properly adjusted pneumatic nailer helps crews drive fasteners consistently, but the pressure should be checked against actual material conditions. Cold mornings, hot afternoons, deck hardness, and equipment settings can change results. Hand-driven nails still require a steady, flush finish.
Look for a nail head seated flat against the specified nailing area without tearing through it. If a nail is crooked or misplaced, the installer should follow the manufacturer’s repair procedure rather than simply hammering it harder. Extra force is not a substitute for correct placement.
The Nailing Zone Controls Wind Performance
A shingle’s printed or reinforced nailing strip is there for a reason. Placing a long nail too high may fail to catch the layers intended to be secured. Placing it too low can leave the fastener exposed or interfere with the next course. Both errors can make a roof more vulnerable to wind.
Wind-rated installation may require a particular number of fasteners per shingle, and the number can vary by product, slope, or local conditions. The safest practice is to follow the manufacturer’s current instructions for the exact product installed. More nails are not automatically better if they are in the wrong locations.
If you are reviewing installation photos, look for consistent rows and appropriate placement rather than counting random visible nail heads. Many important fasteners disappear beneath the next shingle course. The crew’s installation plan and product paperwork are better evidence than a casual glance from the ground.
A Recover Roof Makes the Calculation Less Forgiving
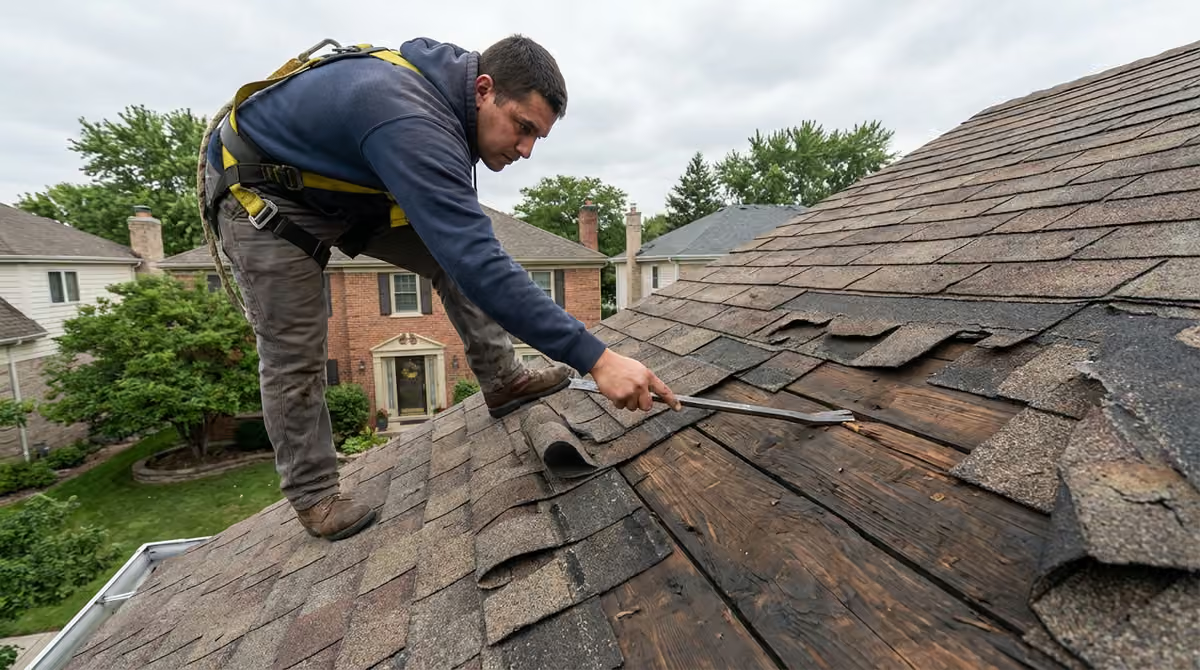
Installing new shingles over an existing roof, where permitted, adds thickness before the fastener reaches the wood. That extra material can turn a previously suitable nail into an undersized one. It also makes it harder to assess the deck condition beneath the old roofing.
A recover job is not appropriate for every roof. Local rules, existing layers, roof condition, and manufacturer requirements may rule it out. If the deck cannot be inspected properly, a tear-off may be the more sensible long-term choice despite a higher initial cost.
Ask the contractor to explain how the nail will reach the structural deck through all layers and how they have checked for hidden damage. A cheaper quote that skips these questions can become expensive when leaks or loose shingles appear later.
Questions Worth Asking Before the First Shingle Goes On
Ask for the shingle brand and model, the deck material and thickness, the proposed fastener length, and any different lengths needed for ridge caps or vents. Also ask how the crew checks nail-gun pressure and corrects high or overdriven nails. These are practical quality questions, not an attempt to supervise every hammer swing.
If the roof has an exposed porch underside, discuss visible nail points early. If there is a steep section, a high-wind area, or a recover layer, ask how the manufacturer’s fastening instructions change. Keep the answers with your project documents, photographs, and warranty information.
The clearest contractor responses describe a complete system. Someone who talks only about shingle color and warranty length while dismissing the fasteners may be overlooking a small but important part of roof performance.
Common Mistakes That Make a Good Nail Fail
One mistake is selecting nails by habit instead of by measured assembly thickness. Another is using a nail that meets the length requirement but has the wrong head or corrosion protection. A third is driving the right nail into a weak deck or outside the manufacturer’s nailing zone.
Homeowners sometimes focus on nails visible in the attic and assume every projecting point is a defect. On thin sheathing, the opposite may be true. A better inspection considers the roof material, the specified penetration, and whether the points are where the manufacturer expects them to be.
Finally, do not assume a handful of extra nails fixes a lifting shingle. The seal strip, fastening location, deck condition, and installation temperature may also matter. Diagnose the reason before choosing a repair.
The Practical Decision for Your Roof
The best roofing nail length is the shortest approved fastener that fully satisfies the assembly’s required penetration and every applicable product instruction, not simply the shortest one in the truck. This approach avoids underfastening while respecting special conditions such as exposed soffits and thicker accessories.
For a roof replacement, confirm the deck before ordering materials, review the shingle installation sheet, and ask the installer to document any exceptions. For an existing roof, have a qualified roofer investigate loose shingles or leaks instead of pulling random nails to measure them.
A roof is a system of small details working together. Choosing and driving the correct fastener is one of those details that rarely gets noticed when it is done well, yet can matter a great deal when severe weather arrives.

Nike Carkarel
Nike Carkarel writes about home decor, interior design, and practical ways to make living spaces more beautiful and comfortable. At Turquoise Moon Homes, Nike shares ideas for decorating rooms, choosing furniture, improving home layouts, and making everyday spaces work better. With an interest in thoughtful design and simple home improvements, Nike helps readers find inspiration for homes that feel welcoming, stylish, and easy to live in.