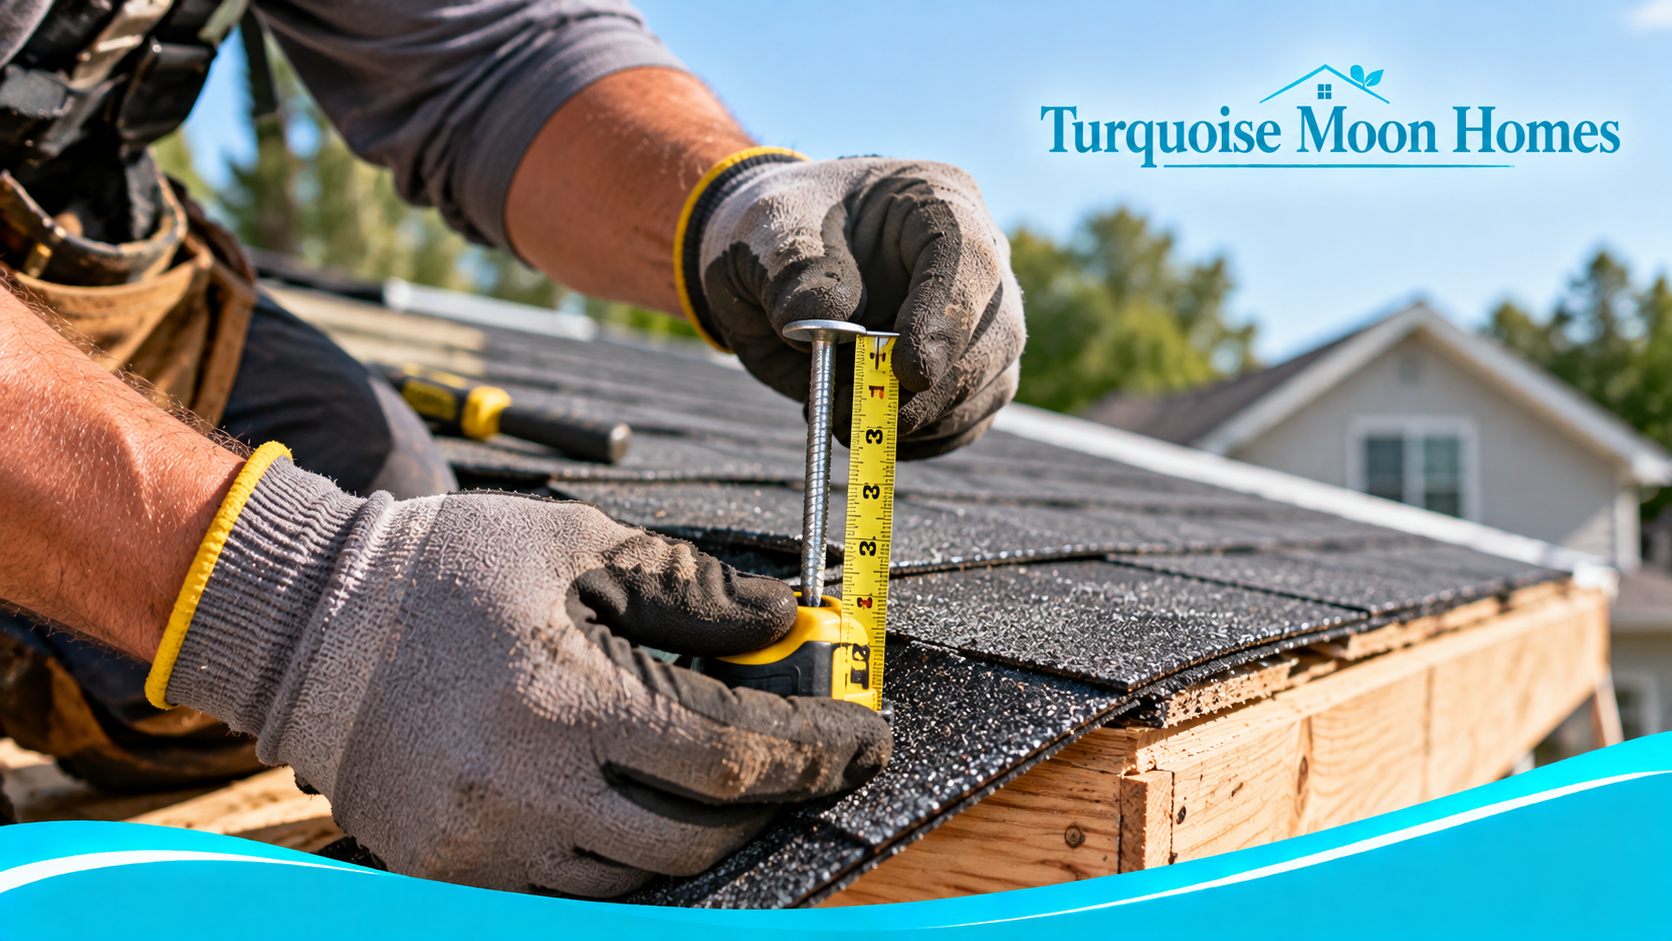
Roof shingle exposure is the visible vertical height of each asphalt-shingle course after the next course overlaps it. Many architectural shingles use a 5 5/8-inch exposure, while some three-tab shingles use 5 inches. The correct figure is the one specified for your exact shingle product.
That small measurement has a large effect on appearance, material coverage, and the relationship between overlap and fasteners. Here is how to measure it, understand product differences, and recognize layout choices worth discussing with a roofer.
Exposure Is the Visible Part, Not the Whole Shingle
Roof shingle exposure means the vertical distance between the lower edges of successive shingle courses. It is the portion of a shingle that remains visible after the next row overlaps it. Exposure affects the finished pattern, the amount of material needed, and how the shingle system sheds water.
It is not the same as the total shingle height. A shingle can measure more than thirteen inches from top to bottom while showing only a little over five inches on the finished roof. Much of the shingle stays covered because the overlap is part of the roof’s protective design.
There Is No Single Exposure Number for Every Asphalt Shingle
Many modern laminated shingles use a nominal five-and-five-eighths-inch exposure, but that is not a universal measurement. The Owens Corning Duration specification, for example, lists a five-and-five-eighths-inch exposure. That number belongs to the named product, not automatically to every brand or style.
Traditional three-tab products can differ. The GAF Royal Sovereign product information lists a five-inch exposure. Those two verified examples show why copying a measurement from another roof can create trouble. Check the wrapper and current installation sheet for the exact shingle being used.
A specialty or designer shingle may have its own pattern, starter details, and alignment requirements. If the crew changes products halfway through a job, they should not carry the previous exposure setting forward without checking the new instructions.
How to Measure Exposure on a Finished Roof
The simplest measurement is from the bottom edge of one horizontal course to the bottom edge of the course immediately above it. Measure perpendicular to the eave, not diagonally along the roof. Use several points on a safe, accessible section to see whether the courses remain consistent.
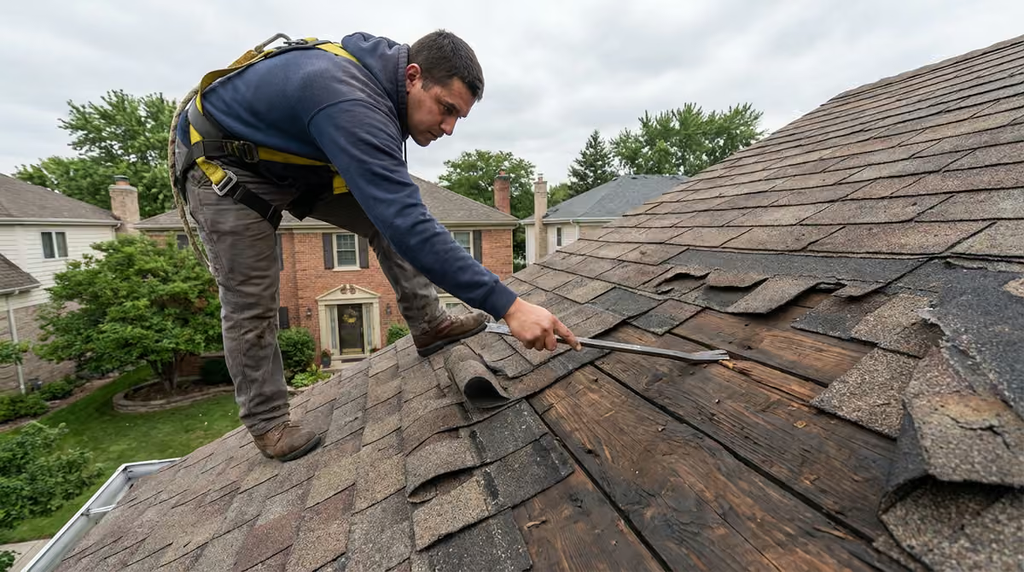
Do not climb onto a steep or wet roof for this check. A qualified roofer can measure safely, and clear close-up photos may reveal uneven rows without putting a homeowner at risk. A photo taken square to the courses is more useful than one shot from a dramatic angle.
A single odd-looking line does not always mean the entire installation is wrong. Roof valleys, dormers, hips, and transitions may require special cutting and layout. Compare the regular field courses first, then review complicated areas against the manufacturer’s detail drawings.
Why the Overlap Matters in Heavy Rain
The exposed portion faces sun, rain, wind, and debris. The covered portion helps create the layered route that directs water downward. Increasing exposure beyond the product’s permitted measurement reduces the intended overlap and can leave parts of the shingle assembly vulnerable.
Too little exposure can create a different problem. It may waste material, alter the planned nailing relationship between courses, and produce a crowded appearance. More overlap is not automatically better when it changes where fasteners and sealant lines fall.
A properly installed asphalt roof depends on multiple components, including underlayment, flashing, starter shingles, and correct slope. Exposure is important, but it cannot make up for missing flashing or a poorly prepared deck. Our roof underlayment comparison explains what lies beneath the visible courses.
Layout Starts at the Eave, Not in the Middle
Roofers usually establish the first course at the eave, then mark guide lines upward using the specified exposure. Starting accurately matters because a small error repeated over many rows can make the last courses awkward near the ridge.
Imagine a long roof plane with twenty courses. If each row is placed even a small fraction of an inch away from the intended spacing, the difference can add up by the time the installer reaches the top. The visual result may be a narrow final strip or a pattern that no longer aligns with nearby roof sections.
Good layout accounts for the actual roof dimensions and any manufacturer-approved adjustments. The installer should plan the field before fastening many rows, especially where dormers or adjoining roof planes make alignment noticeable.
Chalk Lines Help, but They Are Only Guides
Chalk lines can make course spacing easier to maintain across a broad roof. The lines should be laid out from reliable reference points and checked as work proceeds. They do not replace measuring, and they cannot correct a crooked starter course.
On a long run, crews may establish several reference lines instead of relying on one mark. The goal is to keep the visible shingle pattern straight while following the product’s required exposure. If a line drifts, the correction should be planned rather than hidden with a sudden irregular row.
Ask the installer how they will handle a roof that is not perfectly square. Older homes often have small framing variations. A careful roofer balances straight visible courses with the actual building geometry instead of assuming every edge is perfectly parallel.
The Nailing Line and Exposure Work Together
Shingle manufacturers position their recommended nail zones so the fasteners secure the correct portions of the shingle. If the next course is placed too high or too low, the relationship between exposed surface, nail heads, and covered areas can change.
This is one reason a shingle installation should follow a complete set of instructions rather than a single exposure number found online. The proper course spacing, nail count, and nail location belong to the same system. An incorrect layout cannot be fixed simply by adding nails later.
If you see nail heads exposed in the middle of a finished roof field, ask for a professional assessment. Some exposed fasteners occur at approved details, but random visible nails may signal incorrect placement or an improper repair.
Three-tab and Architectural Patterns Need Different Attention
Three-tab shingles have cutouts that make alignment errors particularly visible. Their vertical slots and tab pattern can reveal a drifting course even from the ground. The correct exposure also keeps the intended design consistent across the roof.
Architectural shingles create a more textured, irregular look, which can disguise slight visual differences. That appearance does not relax the installation requirements. The underlying course spacing still needs to match the product instructions, even if the pattern looks less geometric.
When comparing bids, confirm the actual product rather than accepting a generic label such as ‘dimensional shingles.’ Different product lines may use different specifications. A complete proposal identifies the brand, line, color, and accessories.
Roof Slope and Low-slope Limits Are Separate Issues
Exposure does not determine whether asphalt shingles are suitable for a particular roof pitch. The manufacturer and code specify where the product can be installed and whether extra underlayment measures are required on lower slopes.
If a porch or addition has a noticeably flatter roof than the main house, the installer should assess that plane independently. Changing the shingle exposure is not a safe workaround for a roof that falls outside the product’s approved slope range.
For a clearer picture of that separate requirement, read our minimum roof pitch guide. It helps homeowners understand why a roof that looks only slightly flatter may require a different approach.
Estimate Materials Using the Actual Product Coverage
Exposure affects how many courses are needed to cover a roof plane. However, homeowners should not calculate bundle quantities from shingle dimensions alone. Manufacturer coverage figures, waste, starter strips, hips, ridges, and roof complexity all influence the order.
A simple rectangular roof wastes less material than one with several valleys, dormers, and short sections. An estimate should allow for trimming and layout without quietly changing the exposure to stretch a limited supply.
If a contractor runs short, the solution is to obtain the correct matching material. Increasing the visible portion of each shingle to make the bundles go farther is not an acceptable substitute for proper estimating.
Signs That Course Spacing Deserves a Closer Look
From the ground, look for a sudden change in row spacing, a noticeable wave in otherwise straight courses, or a final strip at the ridge that looks unusually narrow. Compare the same roof plane rather than judging around a valley where cuts naturally vary.
These clues are reasons to ask questions, not proof of a leak. A roof may look uneven because the deck itself is irregular, or because of the camera angle. A qualified roofer should compare measurements with the actual shingle specification before recommending corrective work.
When the roof is new, keep installation photographs, material labels, and warranty paperwork. They provide a useful record if questions arise after the crew leaves or if a future repair must match the existing courses.
Make Exposure Part of Your Pre-installation Conversation
Before installation, ask the contractor to name the exact exposure for the selected shingle and show where it appears in the product documentation. Ask how the starter course, chalk lines, and ridge finish will be laid out so the final courses remain consistent.
During the job, a brief check of the first several rows is more useful than discovering a pattern problem after the entire roof is complete. The contractor should be willing to explain any planned changes around complicated sections.
The best roof shingle exposure is not a number chosen for appearance or material savings. It is the manufacturer’s specified layout for the actual product, installed with careful measuring and the other roofing details that keep water moving safely off the house.

Nike Carkarel
Nike Carkarel writes about home decor, interior design, and practical ways to make living spaces more beautiful and comfortable. At Turquoise Moon Homes, Nike shares ideas for decorating rooms, choosing furniture, improving home layouts, and making everyday spaces work better. With an interest in thoughtful design and simple home improvements, Nike helps readers find inspiration for homes that feel welcoming, stylish, and easy to live in.