A kitchen cabinet door that sits lower than its neighbor can make an otherwise tidy room look unfinished. Before ordering new doors or blaming the cabinet box, check the hinges. On many modern concealed hinges, a cabinet door hinge adjustment can correct small changes in height, side-to-side alignment, and how far the door sits from the frame. The trick is to identify the hinge style and change one setting at a time.
Not every hinge has the same screws or adjustment range. Some older surface-mounted hinges offer only limited movement, and a door with a damaged mounting hole needs a different repair. This guide walks through a calm diagnosis, practical adjustments, and the signs that a hinge or cabinet needs more than a screwdriver.
Start by Reading the Gap, Not Turning Screws
Close the door gently and look at the reveals: the narrow gaps around its edges. Is the top gap wider on one side? Does the door rub its neighbor? Is the whole door too low, or does one corner stick out? These patterns help you decide which adjustment to test first. Use a strip of painter’s tape to mark the original position if you are worried about losing your starting point.
Check that nothing inside the cabinet is pushing against the door. A tray, bin, or protruding shelf can make a door appear crooked even when the hinges are aligned. Inspect both hinge arms and mounting plates for loose fasteners. If the cabinet box itself is pulling away from the wall or has swollen from a leak, stop and address that structural problem rather than trying to hide it with hinge movement.
Know Which Hinge You Are Looking At
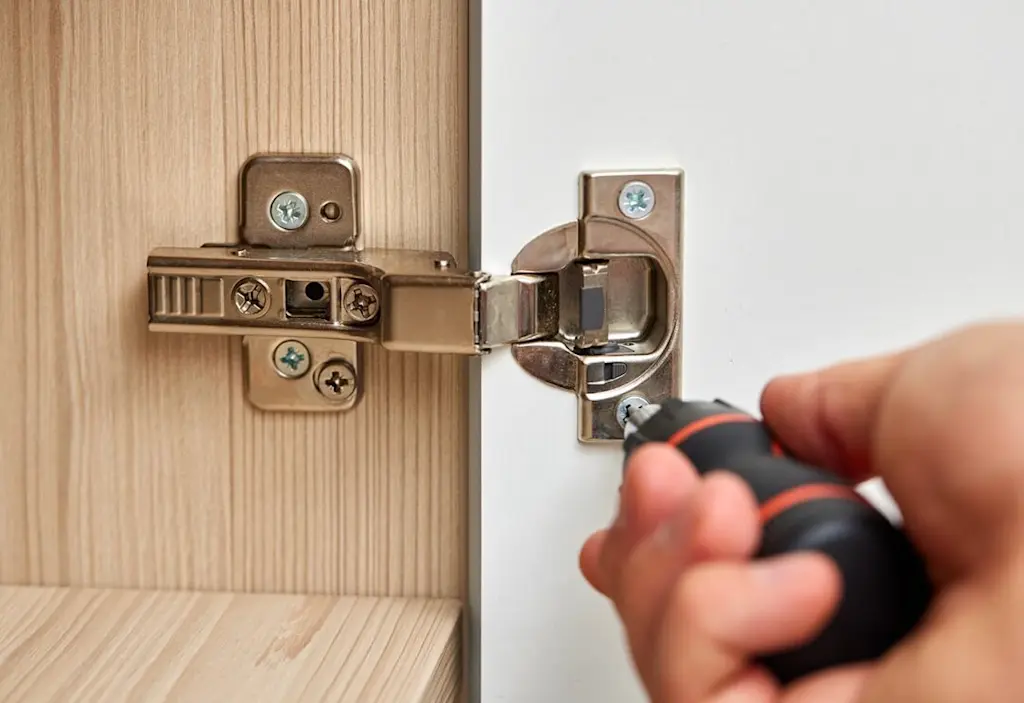
A common European-style concealed hinge has a round cup recessed into the back of the door, an arm, and a mounting plate fixed to the cabinet. Depending on the model, screws or cams adjust side position, depth, and height. Other designs use exposed leaves and simple mounting screws. A cabinet door hinge adjustment on one model may work differently on another.
Blum’s CLIP top hinge installation guidance describes the three-dimensional adjustments available on its concealed hinge systems. That is a useful reference for understanding the concept, not permission to assume every screw on your cabinet does the same job. Look for a brand stamp or model number and consult the matching installation diagram before turning unfamiliar hardware.
Gather a Few Simple Tools and Protect the Finish
A correctly sized manual screwdriver is often enough. Choose a bit that fits the screw head firmly so it does not slip and chew up the metal. A small level, painter’s tape, flashlight, and soft cloth can make the work easier. Put a towel on the counter beneath the door to protect surfaces if a tool drops.
For tall or heavy doors, ask another adult to support the weight. Do not remove the final retaining screw from a hinge arm while the door hangs unsupported. If the door has glass, unusually heavy fronts, or an integrated appliance panel, check the manufacturer’s instructions and consider professional help. The goal is a small alignment correction, not dismantling a load-bearing attachment by trial and error.
Side-to-side Adjustment Fixes Uneven Vertical Gaps
When the door is too close to its neighbor at the top or bottom, a side adjustment can shift its edge horizontally. On many concealed hinges, a dedicated screw or cam moves the door relative to the cabinet. Turn only a small amount, close the door, and observe the change. The direction of movement depends on the hardware, so test gently rather than memorizing a universal clockwise rule.
If the gap is narrow at the top but wide at the bottom, the upper and lower hinges may need slightly different side settings. Work in tiny increments and keep the door supported. A big turn can solve one edge while creating a new collision elsewhere. Once the reveal looks even, open the door fully to check that the edge clears adjacent doors, drawer fronts, and cabinet handles.
Height Adjustment Helps When the Whole Door Has Dropped
If the bottom edge of one door sits lower than its neighbor but the vertical gaps are fairly even, height may be the main issue. Some mounting plates use elongated slots that allow the plate to move when screws are loosened slightly. Others have a cam adjustment that lifts or lowers the door without fully releasing the mounting screws.
IKEA’s UTRUSTA hinge information notes that its adjustable hinges can position a door in height, depth, and width; the exact model’s installation documents are the proper place to check the mechanism. Support the door before loosening mounting hardware, adjust only as far as the hardware permits, then retighten everything firmly. If the door immediately sinks again, inspect stripped holes, cracked wood, and worn hinge components instead of repeating the same adjustment.
Depth Adjustment Solves a Door That Sticks Out
A cabinet door can look aligned from the front yet sit proud of the surrounding doors. The depth setting on some concealed hinges changes how close the door sits to the cabinet face. This can help when one corner is too far forward or the door does not close evenly. Check the hinges one at a time so the door does not twist against its mounting points.
Before adjusting depth, make sure the bumpers and soft-close mechanism are in place and that shelves are not pressing against the door. A thick aftermarket bumper can make a door appear misaligned. If the hinges are correct but the cabinet box is racked, forcing the door inward may strain the hardware. A good adjustment ends with a door that closes smoothly without springing back or scraping the frame.
What to Do When a Screw Keeps Spinning
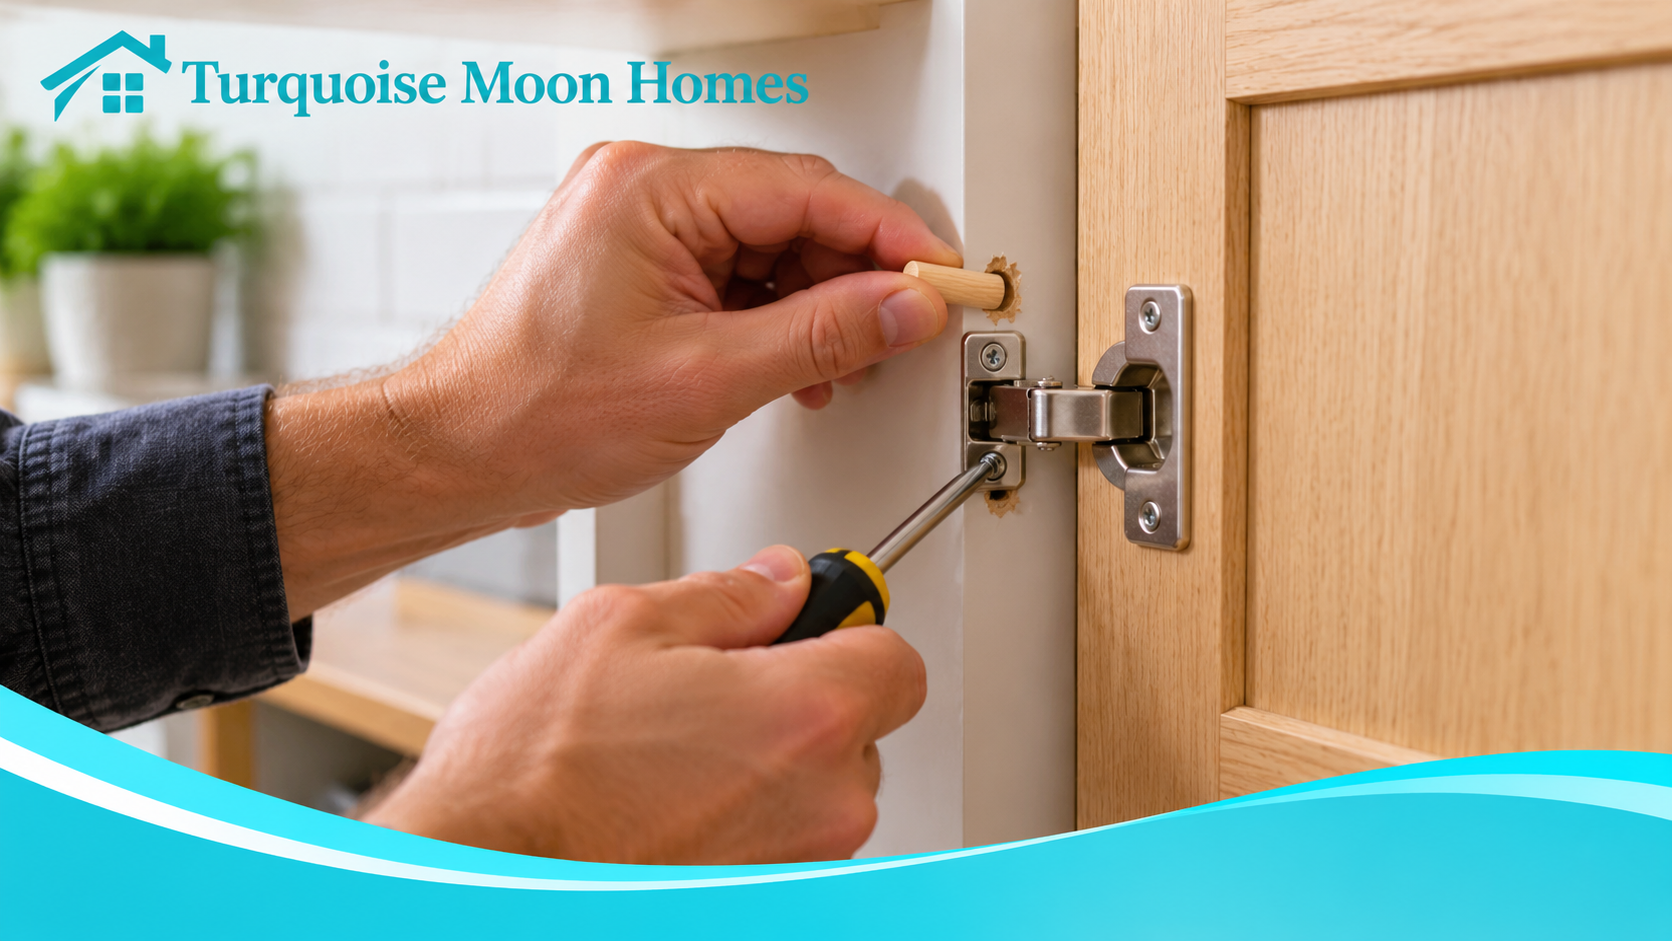
A screw that turns without tightening may have stripped the particleboard or wood beneath it. In that case, changing the hinge setting cannot hold the door securely. Inspect the hole and the surrounding material for crumbling, moisture damage, or a crack. A suitable cabinet repair plate or manufacturer-approved insert may restore a mounting point, but the right choice depends on the cabinet material and hinge load.
Avoid putting an oversized screw into thin cabinet material without checking clearance. It may split the panel or emerge through the other side. If several mounting points are damaged or the door is unusually heavy, ask a cabinet professional to assess whether the box needs reinforcement. The same principle applies to other household fittings: our guide to loose stair handrail repair explains why a fastening problem must be fixed at the supporting material, not hidden by repeated tightening.
Why Doors Drift Out of Alignment Again
Frequent use, slamming, heavy hanging organizers, and changes in humidity can expose weaknesses in a cabinet door assembly. A door may gradually sag if mounting screws loosen or a hinge wears. A kitchen leak can swell the cabinet panel and shift the hinge position. If alignment changes every few weeks, document which hinge moves and inspect the attachment rather than treating repeated adjustment as normal maintenance.
Also check whether the door is hitting a neighboring handle or the side of an appliance. A small collision can push the door out of position over time. If the problem began after installing a new pull-out bin, verify that the hardware clears the door through its entire opening arc. Our under-sink cabinet organization guide offers ideas for storage that leaves plumbing and cabinet doors accessible.
A Worked Example: Two Doors with a Crooked Center Gap
Imagine two 18-inch-wide kitchen cabinet doors that meet in the middle. The left door is straight, but the right door has a tight gap at the top and a wide gap at the bottom. Both hinges feel secure and the door closes without touching anything inside. This points toward a small side-to-side alignment issue rather than a need for a new door.
Support the right door, identify the side-adjustment control for its hinge model, and make a modest change at one hinge. Close the door and compare the gap. Continue with small changes until the reveal is reasonably even. Then open both doors to confirm the corners do not collide. If the adjustment reaches its limit before the door aligns, investigate the cabinet box, hinge mounting positions, and door condition instead of forcing the screw farther.
A Final Check That Takes Less Than a Minute
Once the doors look aligned, open and close them several times. Listen for scraping, check that soft-close dampers engage correctly, and confirm the screws are secure. View the cabinet from standing height and from the side, where a proud corner is easier to spot. Wipe away pencil marks and remove painter’s tape after you are satisfied.
If a door still sticks even when its hinge alignment looks good, the problem may involve swelling or the surrounding frame. Our article on sticking interior doors explores a related but different issue: locating a rub before removing material. In both cases, careful observation saves you from making a permanent change to fix a temporary misalignment.
Final Thoughts
Cabinet door hinge adjustment is usually a measured series of small corrections, not one dramatic turn of a screw. Identify the hinge, read the gap, support the door, and verify each change before moving on. When the hardware is loose or the cabinet material is damaged, repair the attachment first. A few deliberate checks can restore clean lines without buying a new set of doors.

Nike Carkarel
Nike Carkarel writes about home decor, interior design, and practical ways to make living spaces more beautiful and comfortable. At Turquoise Moon Homes, Nike shares ideas for decorating rooms, choosing furniture, improving home layouts, and making everyday spaces work better. With an interest in thoughtful design and simple home improvements, Nike helps readers find inspiration for homes that feel welcoming, stylish, and easy to live in.