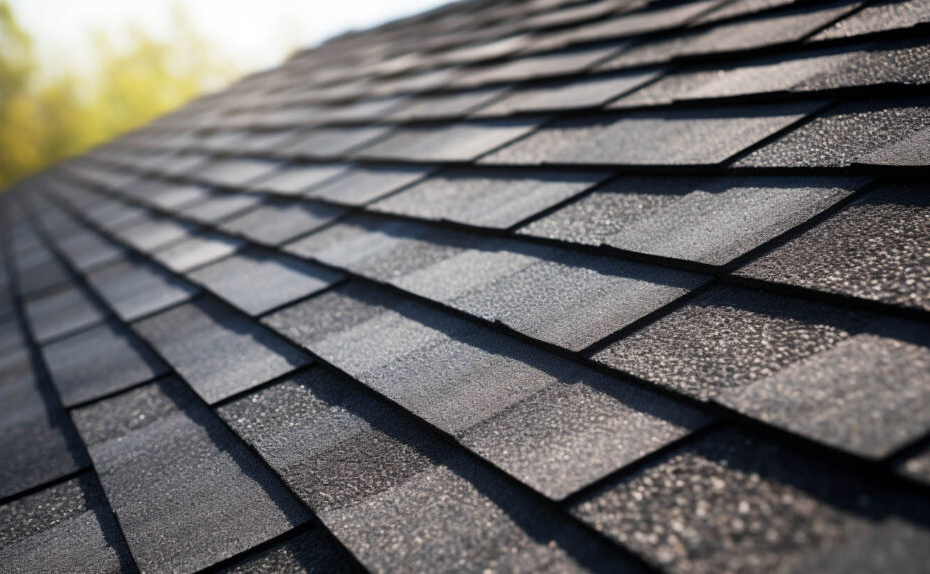
Roof starter strip shingles are concealed beneath the first row of asphalt shingles, where they help seal the roof perimeter against wind lift. Correct placement at eaves and, when required, rakes is a small installation detail with a big effect on how the roof handles storms.
This guide explains what starter strips do, how they differ from field shingles, and which details to check in a roofing estimate.
What Starter Strip Shingles Actually Do
Starter strips are the first roofing pieces installed along eaves and, on many systems, rakes before the visible field shingles. Their most important job is to position adhesive at the roof perimeter so the first full row can bond and resist wind lift. The strip also covers the joints between the tabs or cutouts of the first course, depending on the shingle style. Because it disappears beneath finished shingles, a homeowner rarely notices whether the right material was used. Yet the first row sees strong wind pressure, wind-driven rain, and water draining from every row above it.
Where the Starter Course Belongs
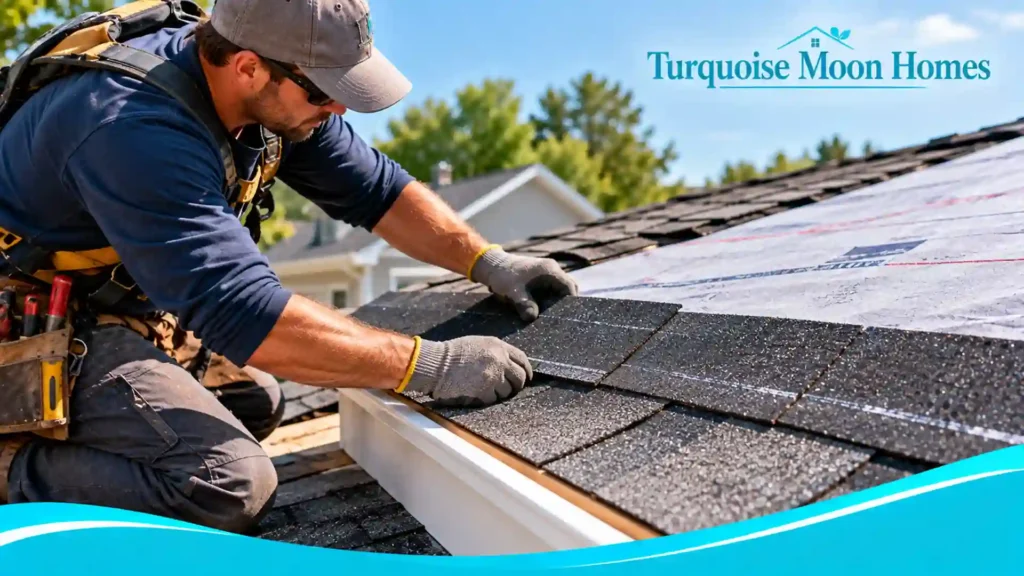
At the eave, the starter course runs along the lower roof edge above the underlayment and appropriate edge flashing according to the chosen roofing system. The visible first course of shingles then covers it. At rakes, the starter often follows the sloped side edge as well, where wind can catch exposed corners. Product instructions vary, especially for laminated shingles, so the roof installer should follow the specific manufacturer’s placement and fastening pattern. The goal is a continuous, properly aligned perimeter seal, not merely an extra layer of shingle material.
Starter Strip Versus a Regular Shingle
A purpose-made starter strip usually has adhesive positioned for perimeter sealing and a shape designed to be concealed by the first course. A regular field shingle is designed for overlapping rows higher on the roof. Cutting a field shingle into a starter may be permitted by some product instructions, but not every cut or orientation will put the sealant where it needs to be. A contractor should not assume that turning any leftover shingle upside down creates an equivalent starter. Ask which starter product the quote includes and whether it is approved for the selected field shingles.
Why the Sealant Location Matters
Wind moving across the roof can create uplift at edges. If the bottom of the first visible shingle has no effective adhesive bond, its leading edge may flutter, crease, or lift. The starter’s adhesive needs to line up with the shingle edge it is meant to secure. When a starter is reversed, shifted too far upslope, or cut incorrectly, the adhesive may not contact the intended surface. A neat-looking finished roof can hide this error. Proper adhesion also depends on clean materials, temperature, sun exposure, and installation instructions, so immediate stickiness is not the only quality test.
How Starter Strips Work with Drip Edge
The starter course and metal drip edge solve different problems. Drip edge directs water away from vulnerable roof decking and fascia; the starter helps secure the shingle perimeter. Neither replaces the other. The order of underlayment and edge metal may differ between eaves and rakes under local code and the roofing manufacturer’s system. That is why an installer should describe the full assembly rather than naming one product in isolation. Our roof shingle overhang guide explains another part of this edge detail: how the visible shingles extend toward the gutter.
The First Row Should Not Look Improvised
From the ground, a straight roof edge with consistent shingle projection is encouraging, but it does not prove the hidden starter was installed correctly. During installation, ask for a photograph before the first field course covers the starter. The photo should show the starter’s position along the edge, its orientation, and the fastening pattern. Keep that image with your roofing paperwork. It is a simple way to document a concealed detail without asking a homeowner to climb onto the roof or interrupt the crew’s work.
Common Mistakes Around Eaves
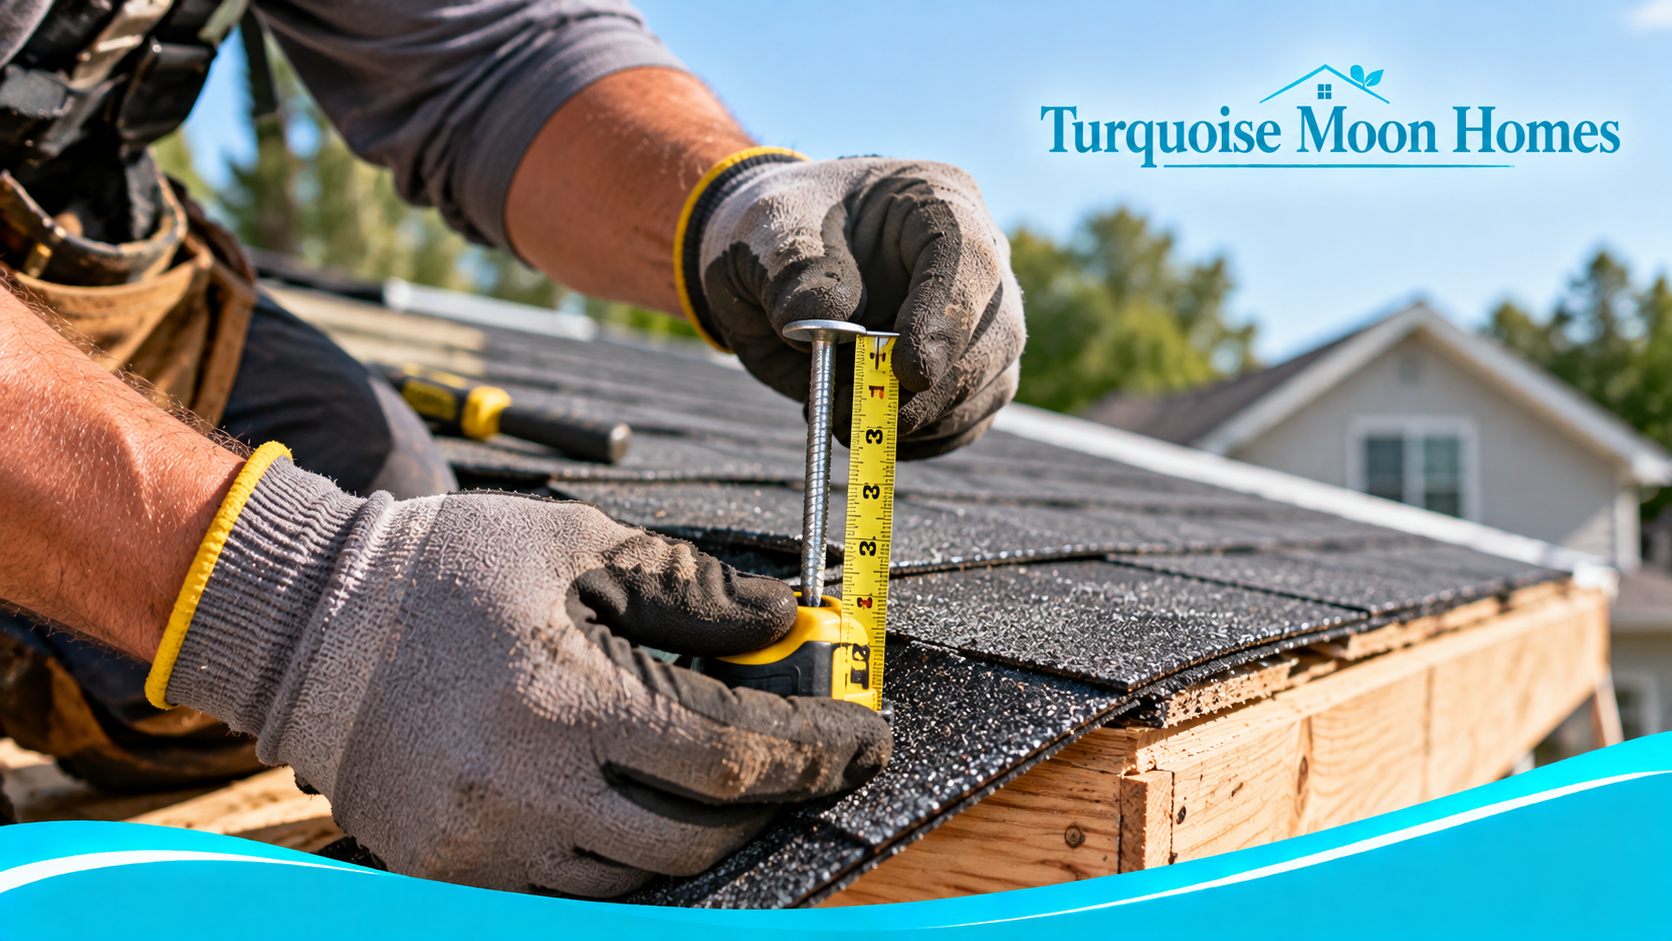
One common mistake is leaving gaps between starter pieces, especially near corners or roof transitions. Another is placing nails where they interfere with the intended adhesive line or too close to an exposed edge. Misalignment can also leave an uncovered joint beneath the first field course. A crew may use a starter at the eave but omit a rake starter even though the system calls for one. These details should be checked against the installation guide for the exact products on the roof, not a generic rule remembered from another job.
What Happens When the Starter Fails
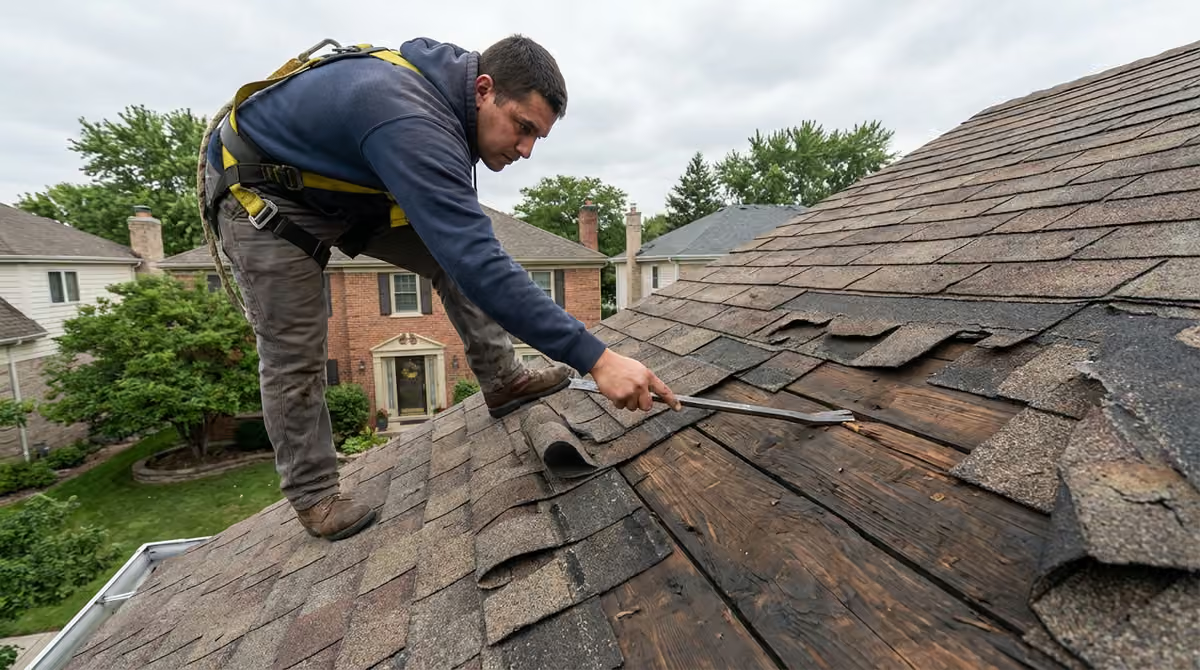
A missing or poorly bonded starter can contribute to lifted first-course shingles during storms. Once a leading edge rises, wind can work under adjacent shingles and loosen additional material. Water may enter where the edge is exposed, particularly when wind drives rain uphill. Not every curled shingle means the starter is wrong: age, heat, improper fastening, and roof movement can produce similar symptoms. A roofer should inspect the shingle condition, sealant contact, nail placement, and roof deck before recommending a specific repair.
Can an Existing Roof Be Repaired?
A localized repair may be possible when damage is limited and nearby shingles remain flexible enough to lift without cracking. A roofer might replace damaged edge shingles and restore an approved starter detail. On an older roof, brittle shingles and hardened adhesive make that work harder. A short repair also needs to tie back into surrounding shingles without creating exposed fasteners or new water paths. If damage runs along multiple edges, a broader assessment may be more economical than repeated patches. The right answer depends on material condition, roof access, and the cause of the failure.
How to Compare Roofing Estimates
Ask each bidder to name the starter product, specify whether it will be installed at both eaves and rakes, and identify the matching field shingle. Check whether edge metal, underlayment, ice-barrier requirements, and ventilation are separately described. A low bid may appear comparable until a starter or edge detail is omitted. Request installation photos for concealed work and a copy of the manufacturer’s relevant instructions. Compare the assembly, warranty terms, and repair responsibilities rather than treating all asphalt-shingle roofs as identical.
Climate and Roof-shape Tradeoffs
A roof in a high-wind area puts more stress on perimeter fastening and sealing than a sheltered roof. Complex roofs have more corners, valleys, dormers, and changes in direction where a continuous starter line needs careful planning. Cold weather may slow the development of an adhesive bond, while dusty or damp surfaces can interfere with contact. Local wind-design requirements and the shingle manufacturer’s instructions should guide the choice of starter and fastening method. Adding more nails without a plan is not automatically safer and can create new leak points.
What the Manufacturers and Inspectors Emphasize
The GAF roofing guidance on starter strips explains their role in sealing roof edges and helping the first course resist wind. The Asphalt Roofing Manufacturers Association provides broader guidance on asphalt roofing materials and installation practices. Use those resources as background, then insist on instructions for the exact products your contractor is installing. General advice should never override the tested requirements of a particular roofing system.
A Practical Homeowner Checklist
Before work begins, confirm the starter material appears on the written scope. During installation, request one clear photograph at the eave and one at a rake before the first full row hides the material. After completion, check from the ground that the edge looks straight and that gutters are not blocked with scraps. Keep the product labels, estimate, photos, and warranty documents together. If you notice lifting after a storm, photograph it from a safe place and call the installer promptly. Avoid pressing down loose shingles yourself, especially on a steep or wet roof.
The Takeaway
Starter strip shingles are a hidden part of the roof with a very visible job during wind and rain. Their value comes from correct placement, a working sealant line, compatible materials, and proper fastening along the perimeter. The most useful question for a homeowner is not simply whether a roofer uses starter strips, but exactly which ones, where they go, and how the crew will document their installation. Getting that detail right at the start is far easier than tracing a loose roof edge after the next storm.

Nike Carkarel
Nike Carkarel writes about home decor, interior design, and practical ways to make living spaces more beautiful and comfortable. At Turquoise Moon Homes, Nike shares ideas for decorating rooms, choosing furniture, improving home layouts, and making everyday spaces work better. With an interest in thoughtful design and simple home improvements, Nike helps readers find inspiration for homes that feel welcoming, stylish, and easy to live in.