To fix loose toilet seat hardware, lift the hinge covers, center the seat, and gently tighten the mounting bolts while holding any nuts underneath. If the seat keeps sliding, check for worn washers, damaged hinges, or a top-fixing anchor that no longer grips.
The repair is usually simple, but toilet seats use several different fastening systems. This guide shows how to identify yours, avoid cracking porcelain, and decide when replacement hardware is a better choice than another turn of the screwdriver.
Find the Movement Before Reaching for a Screwdriver
To fix loose toilet seat hardware, first identify whether the entire seat shifts sideways, one hinge moves independently, or the seat itself is cracked. These problems can feel similar when someone sits down, but they call for different repairs.
A seat that slides left and right often has loose mounting bolts or worn washers. A hinge that rocks while its base stays firm may have a damaged pivot. A cracked seat or lid needs replacement rather than a tighter screw.
Work with the toilet clean and dry, and lift the lid to see both hinge covers. There is no need to shut off the water for a basic seat adjustment because the seat fasteners are separate from the plumbing.
Most Standard Seats Have Two Hidden Mounting Points
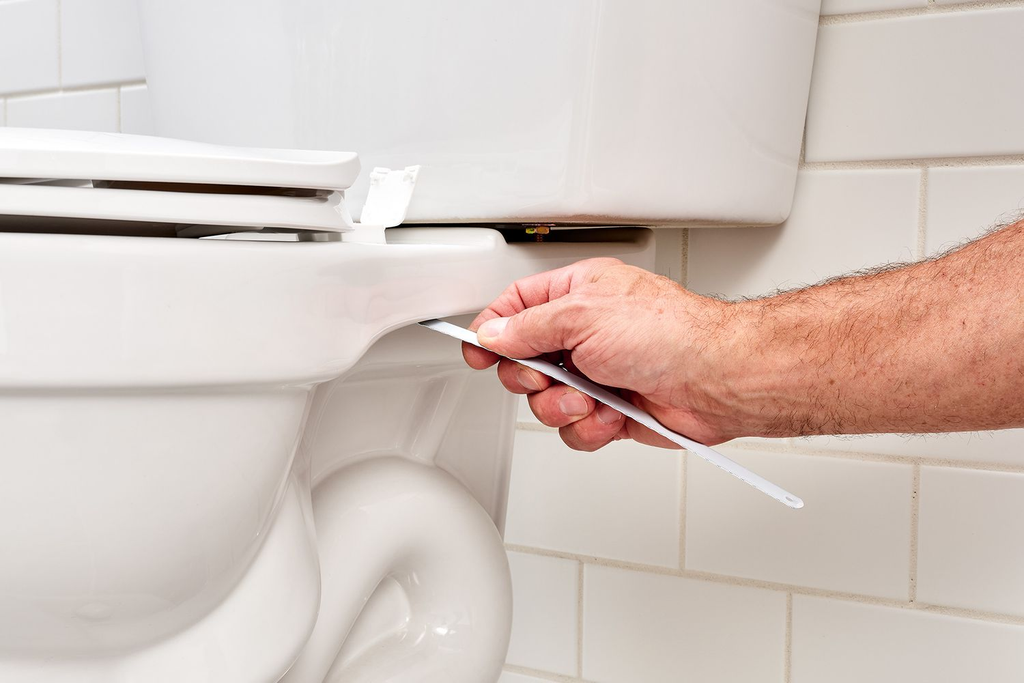
Look near the back of the seat for two small hinge covers. They may flip up with a fingernail or a plastic tool. Beneath them are the heads of the bolts that hold the seat to the bowl.
The Kohler standard toilet seat instructions show a common arrangement: bolts pass through the hinge and bowl, with nuts underneath. Holding the lower nut while tightening the upper bolt can stop the hardware from spinning.
Not every seat uses this system. Some skirted toilets have limited access underneath and rely on top-fixing anchors. Quick-release seats may use separate brackets. Identify your hardware before applying force.
Gather Simple Tools and Protect the Porcelain
For many seats, a screwdriver and a small adjustable wrench are enough. A flashlight helps when the underside is difficult to see. A cloth protects the porcelain if you need to rest a tool near the bowl.
Use the screwdriver bit that fits the bolt head snugly. A bit that slips can strip the head and make a small repair much harder. Plastic nuts often need only gentle hand pressure, not a large wrench.
Avoid overtightening. Porcelain is hard but brittle, and mounting hardware can crack or deform when forced. Tighten in small increments and stop once the seat is secure and centered.
Center the Seat Before Tightening Both Sides
Loosen the bolts just enough to move the seat, then position it evenly over the bowl. Check the front edge and both sides rather than lining up only the hinges at the back.
Tighten one side partway, then the other. Alternate until the seat remains centered. If you fully tighten one bolt before adjusting the second, the seat can twist or end up crooked.
Lower the seat and test it gently. It should stay aligned when pushed from either side without scraping the bowl. If it moves again, inspect the washers and mounting holes instead of immediately applying more torque.
Top-fixing Seats Need a Different Technique
On some modern toilets, the mounting nuts cannot be reached from below. The seat may use expanding anchors inserted from the top. Tightening the bolt compresses the anchor so it grips inside the bowl hole.
The Kohler quick-attach guide describes a top-tightening arrangement with a special wing nut. The exact mechanism varies, so match your seat’s instructions rather than assuming every anchor works the same way.
If the anchor spins without tightening, it may be worn, incorrectly seated, or incompatible with the hole. Replacing the correct hardware is usually more effective than forcing the bolt until it strips.
Worn Washers Can Cause Repeated Loosening
Rubber or plastic washers help spread pressure and keep the hinge stable. Over time, a washer can flatten, split, or disappear during cleaning. Without proper support, the seat may shift even when the bolt seems tight.
Remove one mounting point at a time if you need to inspect the hardware, keeping the parts in order. Look for a missing washer, a damaged nut, or an oval-shaped mounting hole in a worn plastic hinge.
Replacement kits are often inexpensive, but compatibility matters. Check whether the seat uses top-fix anchors, ordinary bolts, or a brand-specific hinge system before buying a generic pack.
A Quick-release Hinge May Not Be Loose at the Bowl
Some seats lift off their mounting posts for easier cleaning. If the release mechanism is not fully engaged, the seat can wobble even though the mounting brackets are secure.
Remove and reinstall the seat according to its instructions, checking for the click or locked position specified by the manufacturer. Clean any buildup that prevents the seat from seating properly, then test again.
If the mounting posts are firm but the seat still rocks, examine the quick-release sockets for cracks or wear. A damaged locking mechanism may require replacement parts rather than additional tightening.
Rusty Bolts Require Patience, Not Brute Force
Older seats sometimes have metal bolts that corrode in a damp bathroom. The nut may be difficult to turn, or the screwdriver slot may be damaged. Protect the porcelain and avoid levering hard against the bowl.
A penetrating product approved for the hardware may help with corrosion, but keep chemicals away from finishes that could be damaged. Follow the product directions and clean the area thoroughly afterward.
If a bolt will not release safely, consider having a plumber or experienced repair professional remove it. A broken mounting bolt is inconvenient; a cracked toilet bowl is far more expensive.
Check the Seat Shape Before Buying a Replacement
If the seat or hinge is broken, measure the bowl before shopping. Round and elongated bowls use different seat shapes, and the distance between mounting holes can matter for unusual models.
Check the hinge design and any special features such as slow-close or quick-release operation. A replacement that fits the bowl but cannot be fastened securely is not a good solution.
Bring the seat model number or a clear photograph of the mounting hardware when choosing parts. This can save a second trip to the store and reduce the temptation to improvise with mismatched bolts.
Cleaning Can Help the Repair Last
Soap residue, dust, and moisture can collect beneath hinge plates. When you remove the seat, clean the mounting area and let it dry before reinstalling. A clean surface helps the hardware sit flat.
Use cleaners compatible with the seat material and toilet finish. Avoid harsh abrasives that scratch plastic hinges or remove protective coatings from metal parts. Dry the area around the fasteners after cleaning.
If you often remove the seat for cleaning, check that the quick-release mechanism is locked afterward. A brief check can prevent a seat from shifting the next time someone uses it.
Know When the Problem Is More Than a Loose Seat
A seat that wobbles is different from a toilet bowl that rocks on the floor. If the whole toilet moves, stop using it until the mounting and floor conditions are assessed. Tightening the seat will not fix a loose toilet base.
Water around the toilet, a soft floor, or a persistent sewage smell may point to plumbing or subfloor problems. Those signs deserve prompt professional attention rather than a seat-hinge repair.
If you are tackling other bathroom maintenance, our running toilet troubleshooting guide addresses a separate common problem inside the tank. Keep the diagnoses separate so each repair targets the right component.
A Five-minute Check Can Prevent Repeat Repairs
After tightening, open and close the lid several times and gently shift the seat from side to side. The hinge bases should remain still. If one side loosens immediately, the hardware may be damaged or incorrectly installed.
Check again after a few days of normal use. A stable seat should not need constant retightening. If it does, replace the worn washer or mounting kit instead of making repeated adjustments.
A loose seat is usually a manageable repair, but the right fix depends on understanding the hinge design. Take a moment to identify the parts, center the seat, tighten gently, and replace damaged hardware when needed.
Make the Bathroom Comfortable Without Overcomplicating the Job
The goal is a seat that feels secure, sits straight, and is easy to clean. You do not need specialized tools for every model, but you do need to respect the hardware and the porcelain beneath it.
If the repair leads you to notice failing caulk around a bathtub or shower, that is a separate maintenance task. Our bathtub caulk replacement guide explains how to approach that work without mixing it into a toilet-seat adjustment.
A careful ten-minute inspection often saves more time than repeated guessing. When the seat stays centered and the hinges stop shifting, you can put the tools away and move on.

Nike Carkarel
Nike Carkarel writes about home decor, interior design, and practical ways to make living spaces more beautiful and comfortable. At Turquoise Moon Homes, Nike shares ideas for decorating rooms, choosing furniture, improving home layouts, and making everyday spaces work better. With an interest in thoughtful design and simple home improvements, Nike helps readers find inspiration for homes that feel welcoming, stylish, and easy to live in.